Every embroiderer knows the moment. You hold the hoop up to the window, the light comes through, and something is off. A dip in the fabric. A satin stitch that leans like a fence in the wind. A transfer line running a millimetre to the left of where the thread actually went. The hand moves towards the scissors, and half a day's work is one snip away from the bin.
Almost none of it needs to be unpicked. Most of the problems that push people back to the start can be read, adjusted, or quietly absorbed into the finished piece, and the correction usually takes less time than re-stitching a single leaf. What follows is the practical version: what the fault is telling you, and how to answer it without dismantling the work.
Start With Tension, Because It Lies About Everything Else
Before you blame your stitches, look at what they are sitting on. Fabric that has been hooped too tightly, or hooped unevenly, can distort a design that was worked perfectly evenly. The stitches look wrong because the ground beneath them is stretched out of shape.
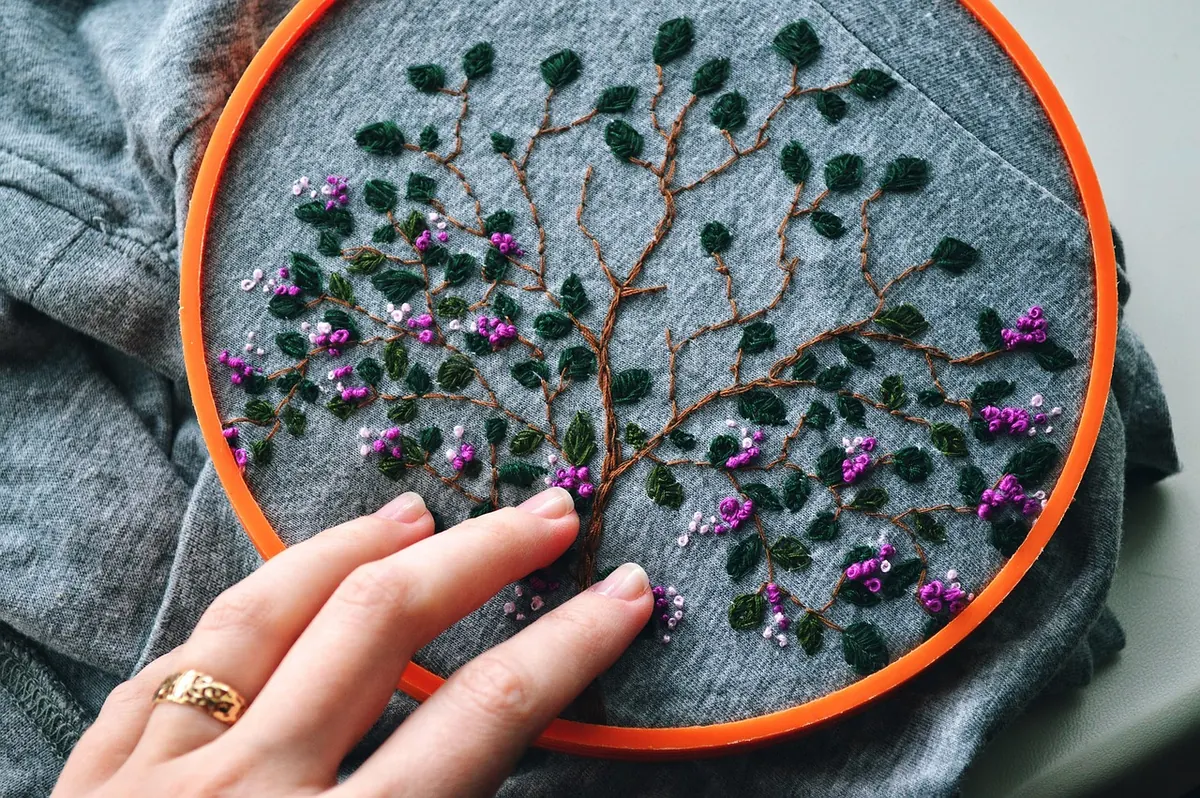
Tap the fabric inside the hoop. It should feel like a drum, taut and even across the whole circle, not like a trampoline in the middle and slack at the edge. If the weave is visibly pulled into a grid, the hoop is too tight. Loosen it, let the cloth relax for a few minutes, and re-hoop with the grain straight. A hoop wrapped with bias tape on the inner ring is worth the ten minutes it takes to make, particularly on silk, velvet and any fabric that creases into a memory.
Puckering around a finished motif can often be eased rather than unpicked. Mist the back lightly with clean water, place the work face down on a folded towel and press from the reverse with a warm iron, letting the weight of the iron do the work rather than pressing hard. Nine times out of ten the cloth settles, and any faint ridge that remains reads as texture rather than error. Test any fabric for colourfastness on a scrap first, and keep the iron off metallic threads and anything synthetic that might melt.
When the Thread, Not the Fabric, Is the Problem
Loose, loopy stitches on the surface usually come from thread that is twisting back on itself. Let the needle hang free from the work every dozen stitches or so and let the thread unwind. Keep lengths to about the distance from your fingertips to your elbow; long threads fray, knot and thin out, and a thin patch in the middle of a satin stitch is nearly impossible to disguise later.
If the thread shreds at the eye, the needle is too fine or the eye too small. Move up a size, or switch to a needle with a longer eye. If you are working with a stranded thread and one ply keeps riding up, strip the plies apart, stroke them flat and recombine only as many as you need. A loose stitch that has already been laid can be snugged down by sliding the tip of a tapestry needle under the thread at the back and easing the slack along the row rather than tugging it in one place.
Uneven Stitches: The Corrections That Blend In
Evenness is the thing most people want to fix, and the thing least worth unpicking for. A slight variation in stitch length disappears at arm's length; nobody views embroidery from fifteen centimetres except its maker.
- Gaps in satin stitch. Bring the needle up inside the gap and lay a new stitch parallel to its neighbours, splitting the threads of the stitches on either side with the needle as you go. The new thread locks in and the surface closes up.
- Stitches leaning the wrong way. Check your entry angle before adding anything. If a whole section slants against the design, work a second layer in a slightly finer thread crossing at the intended angle. Two directions read as deliberate shading rather than a mistake.
- A hard line in long-and-short shading. Add three or four stitches in the middle tone that straddle the boundary, alternating lengths. Blending is a matter of interrupting the edge, not of matching it exactly.
- An outline the stitches didn't quite cover. Whipped backstitch or a fine stem stitch over the edge turns a coverage problem into a border. It is a legitimate finish, used in traditional work for centuries.
- Too few stitches in a shape. Fill inward from the edges rather than adding one block in the middle, so the new work meets the old at the same angle.
Satin stitch that refuses to sit flat is nearly always a foundation problem. If the shape is still open, run a split stitch or backstitch outline just inside the edge and work the satin over it; the raised line gives the stitches something to ride on. If it is already filled, add a padded layer over the top in a matching colour and re-cover only the worst section. It adds body and almost no visible thickness.
Transfer Troubles: Lines That Move, Show, or Won't Leave
Transfer faults feel catastrophic because they happen before a single stitch, but they are the easiest to work around. A design that has slipped a little on the grain is not a ruined design; it is a design that has been interpreted. Follow the stitching you have already done and let the printed line go. Consistency with the thread matters far more than fidelity to the drawing.
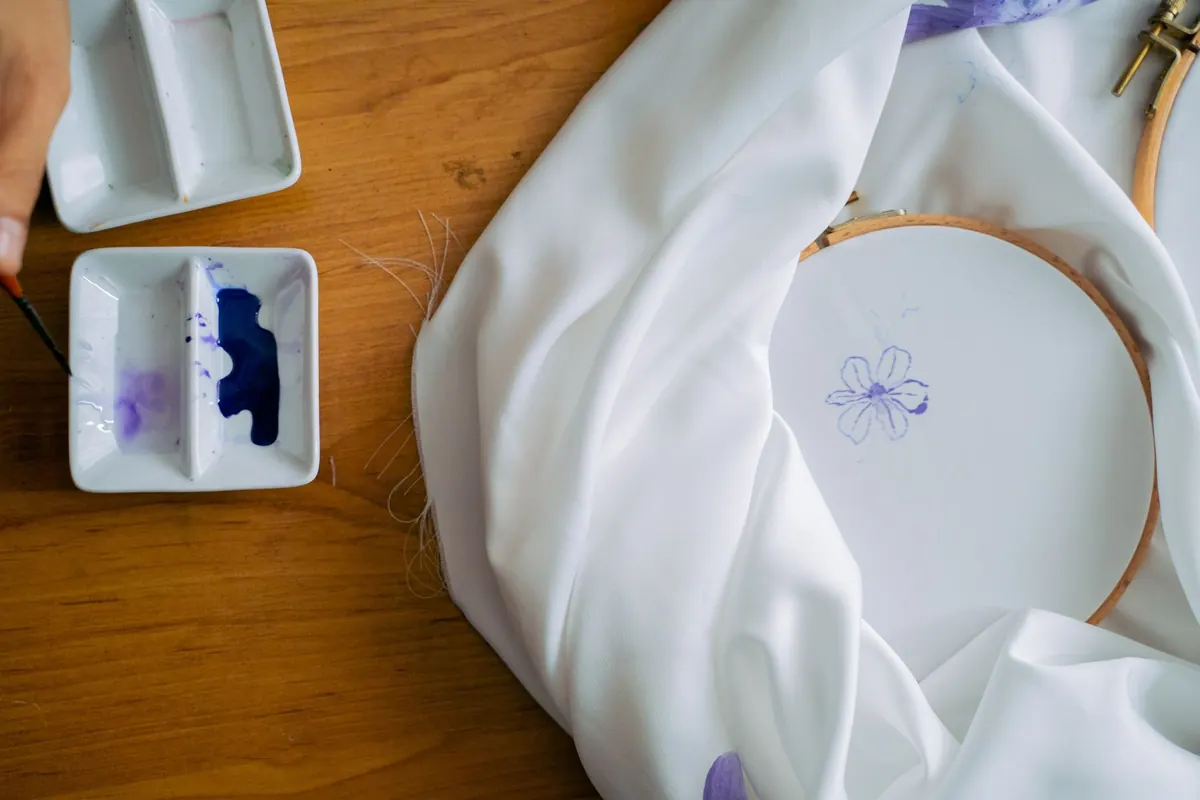
Visible transfer lines outside the stitching are the commonest complaint. Resist the urge to scrub. Blot a water-soluble marker with a damp cloth, working from the outside in so the line does not spread, and let it dry before judging. Graphite comes up best with a soft eraser used from the back of the fabric, or a kneaded eraser pressed and lifted rather than rubbed. On an iron-on transfer that has left a ghost, a warm wash and a patient afternoon will usually do it; if a faint shadow remains, stitch over it deliberately. A scattered running stitch along an old line looks like part of the design.
If a mark will not go away, stop treating it as a stain and start treating it as a stitch guide.
The Back of the Work Is Showing Through
Dark thread carried across a gap behind a pale fabric will shadow the front, and no amount of careful stitching will hide it afterwards. The fix is a small one: catch the travelling thread down at two or three points with a tiny stitch from the front, working through an area that is already covered, so the float sits close to the fabric instead of hanging free. If the shadow is already there, work a few fine stitches in the lighter colour over the affected area, or back the work with a lightweight calico or interfacing before finishing. Both take minutes and neither disturbs the embroidery.
Loose loops at the back, the kind that snag on a ring or a zip, can be secured from the front. Slide a needle down through an existing stitch, catch the loop and bring it up gently, then anchor it beside a neighbouring stitch. Keep the tension light; a pulled loop leaves a dimple that is harder to fix than the loop itself.
A Short Triage Before You Touch Anything
When something looks wrong, work through this in order, and stop as soon as the fault turns out to be something other than what you assumed.
- Hold the piece at arm's length in daylight. If the fault vanishes, leave it alone.
- Turn it over. Most tension and looping problems are visible and diagnosable from the back.
- Ask whether the fix adds something. A border, a blended stitch, a second direction: additions hide errors better than removals do.
- Fix one stitch, not one row. Correct the nearest instance, look again, and let the eye decide whether more is needed.
- Only unpick what cannot be covered, and only where the mistake is structural rather than cosmetic.
Hand embroidery is thread on cloth, and cloth remembers. Slight irregularities in tension and stitch length are how a piece announces that a person made it. The corrections above are not about chasing perfection; they are about keeping a good piece of work on the frame, moving forward, and trusting that the small adjustments you make along the way will be invisible by the time the hoop comes off for the last time.
Photo: TinaDemyanchuk / Pixabay